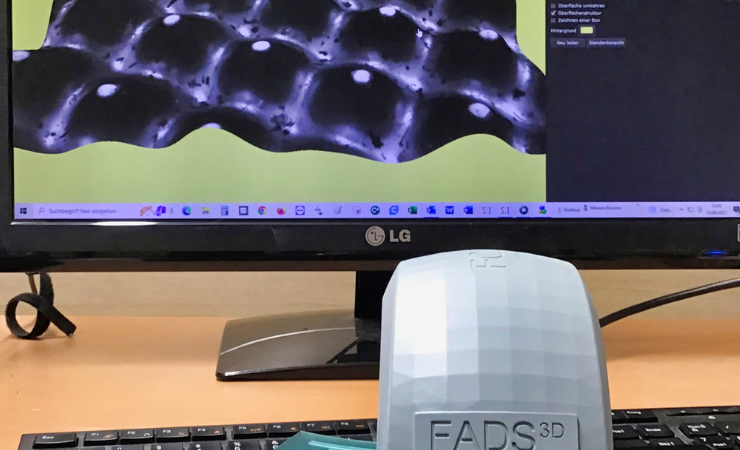
Sibress has upgraded its FADS3D flexo plate measuring device with two new features to expand its application range.
The device uses a high-resolution camera to capture the surface as well as the recessed sections of dots and the base on the flexo plate. In addition to standard plate measurement functions, the instrument enables precise depth measurements based on digital images captured using Z-stacking.
In practice, this means that Sibress FADS3D is also capable of accurately measuring the relief of flexo plates with a depth of more than 1350 microns. The increment per shot / layer is less than five microns when measuring in the Z-axis.
The measuring instrument provides sharp images from the plate surface to the intermediate depths of the halftone dots and image areas. In other words, everything from the dot surfaces to the base areas of the plates can be visually checked in the Versatile@flex software using one and the same image.
FADS3D now has new software functionality that, in conjunction with adjusted illumination, enables further refined measurement of halftone dots that have surface texturing patterns. The new feature ensures extremely sharp detection of the specific edge profile of such dots as a prerequisite for accurate measurement results across the entire tonal range.
The second feature supports users of LAMS plate imagers in the regular calibration of the system’s laser. During the calibration process, the laser images groups of lines on the plate material, and it is necessary to determine the line with the smallest thickness as a basis for any necessary adjustments. FADS3D detects the exact thickness of all lines with only one measurement and indicates this in microns, which is a much faster and more reliable method than visually assessing the calibration element using a microscope. This new feature can also be used, for example, to accurately measure the bar width of bar codes on imaged LAMS plates.
Now FADS3D has been presented to a wider audience for the first time at the 2022 DFTA ProFlex event in Stuttgart, Germany.
The Sibress FADS3D provides a 3D view of the captured plate area. The visualisation is freely selectable from 360 degrees so that the shoulder and flank areas of halftone dots, for example, can be examined from different perspectives. The measurement functions also include the determination of the flank angle.
As far as standard measurement functions are concerned, Sibress FADS3D can analyse screens from 28 to more than 240 l/cm (71 to >620 lpi) as well as FM, hybrid, and specialty screens. Parameters such as halftone value, screen, dot diameter and dot perimeter are instantly recognisable.


